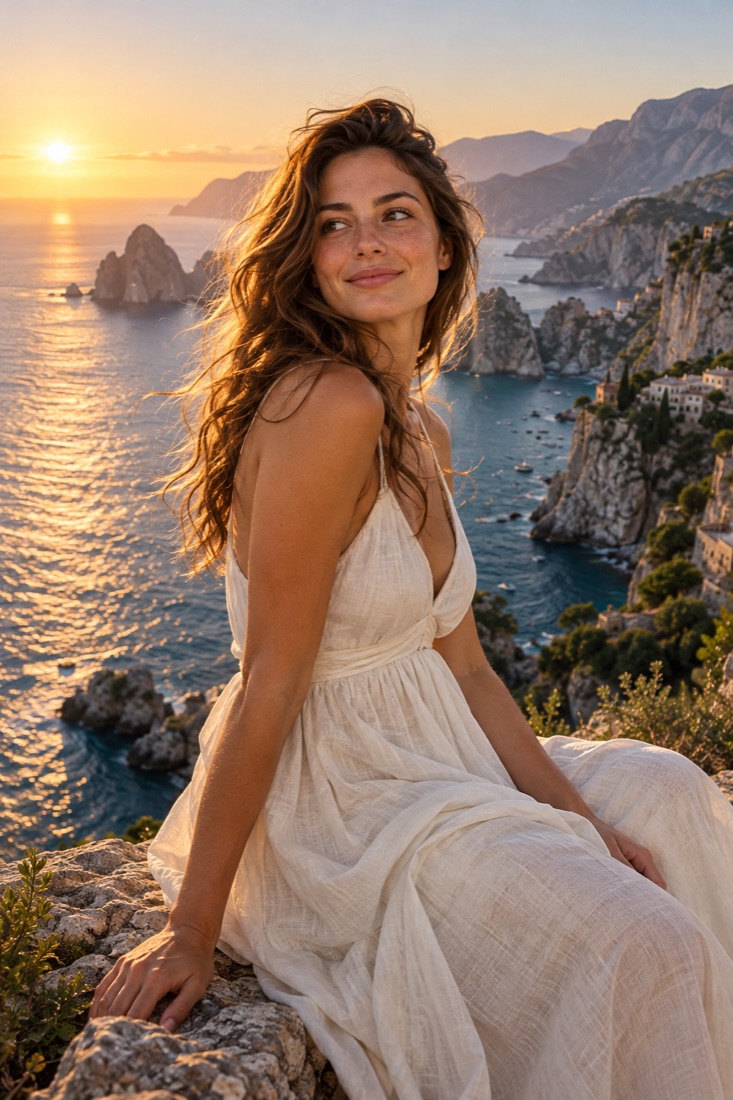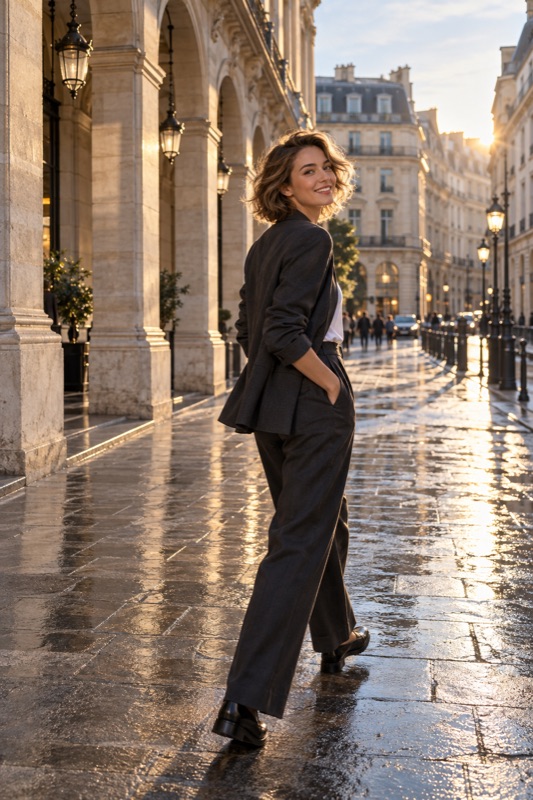
Use ordinary Photo mode when the surroundings matter or when Portrait mode makes edges look wrong. Try Portrait mode when you want stronger subject separation, then inspect the saved hair, glasses, hands, and background. Take both versions when possible; the better mode is the one that preserves what matters in that scene.
Get it on Google PlayStart with what should remain visible
A portrait does not have to come from a mode named Portrait. You can photograph a person in ordinary Photo mode and still make a strong picture. Decide whether the viewer should notice only the expression, the complete outfit, or the person together with a particular place.
If the café, beach, or street is part of the memory, strong background blur may remove useful information. If a busy setting distracts from the face, a supported Portrait mode is worth testing. First consider whether a small change of position would simplify the background without hiding it.
Understand the effect without assuming identical hardware
Phone Portrait modes commonly create or enhance background blur through camera processing. Google documents Portrait capture and adjustable background blur for supported Pixel workflows. Availability and editing options differ by model; those instructions do not establish the same capabilities on every Android phone or in ShotCoach.
Also distinguish background blur from face retouching. A mode can offer separate controls for skin appearance, and some processing is visible only in the saved photograph. If you want a natural-looking comparison, check which enhancements are enabled before deciding that the mode itself changed your face.
Inspect boundaries, not just the amount of blur
After a Portrait-mode shot, enlarge the outline around loose hair, glasses, earrings, and fingers. Check gaps between an arm and the body or around an object held near the face. Look for portions that appear unintentionally softened or detached from the rest of the subject.
If an edge looks wrong, try less blur where supported, a simpler background, or ordinary Photo mode. Do not keep a distracting effect only because the label suggests it is the professional option. The important comparison is the saved image at the size you expect to use.
| What you want | Start with | Check before keeping |
|---|---|---|
| A portrait with a recognizable destination | Photo mode | Face is clear and the place remains readable |
| A face separated from a distracting setting | Compare Portrait with Photo | Hair and accessory edges look plausible |
| A complete outfit with a bag or flowing sleeves | Take an ordinary Photo reference | No important fabric or strap disappears into blur |
| Several people at different distances | Photo mode as a baseline | Every important face is acceptably clear |
Keep position and light steady for a fair comparison
Switching modes may change the field of view or the camera the phone uses. Notice that change. If one image is tighter, compare it as a different framing choice rather than assuming the background effect alone explains your preference.
Ask the person to stay in approximately the same place and make both pictures in the same light. Check the face and outfit before the background. If one mode produces a darker or softer result in that situation, use the clearer option or move to better light rather than forcing a preferred mode name.
Try a two-mode exercise with a useful ending
Illustrative exercise: ask a willing friend to stand with a little distance from a textured wall. Take an ordinary Photo image, then a Portrait image. Review the face, the hair boundary, and the wall. If available, reduce the second image's blur and compare again; the exercise does not assume every phone offers editing after capture.
Choose one version for an expression-focused portrait and one for remembering the place. They may be the same photograph. Save the preferred result and remember why it worked. That decision is more useful next time than a rule to always use one mode.
- Decide whether the background carries part of the story.
- Take a Photo-mode reference before applying an effect.
- Try Portrait mode if your camera supports it.
- Inspect subject edges and the actual saved face.
- Keep the version that protects the important details.
Before your next photo walk
Does Portrait mode change the physical aperture?
A blur control does not by itself mean the lens aperture is changing. Many phones have fixed physical apertures. Check your device documentation rather than treating the slider like an interchangeable-lens camera setting.
Can I remove the blur after taking a Portrait photo?
Some devices and photo workflows allow later blur adjustment, while others do not. Check the available editor on your phone and keep an ordinary Photo version when the result matters.
- Google: Take high quality photos on your Pixel
- Google: Selfies, retouching, and saved-image appearance
ShotCoach AI
Whichever native camera mode suits the scene, learn to build a stronger frame. ShotCoach AI provides paid composition guidance and supported camera adjustments; it does not guarantee an effect or fire the shutter automatically.
Get it on Google PlayAvailable for Android · AI guidance is paid